cPanel Mail Server Configuration – A Starter Guide for Beginners
With its wide array of statistics, email functions, SEO features, and more, cPanel is one of the most popular web hosting control panels among companies and web developers today.
But cPanel mail server configuration can seem daunting at first for beginners and non-technical users. For this reason, with this guide, we will make the cPanel mail server configuration simple and easy to follow.
We will go through how to set up your cPanel email server from scratch so that you can start sending and receiving emails, adding and editing email addresses and domains, and more.
What is cPanel and What Does it Do?
cPanel is a web-based control panel that offers an interface and tools designed to design a website, but also to create email addresses, among other features.
cPanel is widely used by web-hosting providers and is also available as a standalone product for use on personal servers.
Other than managing domains and organizing web files, cPanel provides a number of tools to help you configure your email server, including an email accounts manager, an autoresponder tool, and spam filters.
Getting Started with cPanel Email Server Configuration
The first step is to log into cPanel, which is pretty easy. You will need to type the IP address or the domain followed by the port number 2087, as such: https://YOURDOMAIN.com:2087. Once done, you can log into cPanel with your credentials.
Now that you’re logged into cPanel, you’re ready to update your preferences and add your email accounts; here’s how to proceed, step by step.
Updating Preferences in cPanel
First and foremost, after logging into cPanel for the first time, you’ll want to update your details in the “Preferences” tab. We recommend changing your password and updating your contact details if needed. Make sure to choose a complex password to secure your account as much as possible.
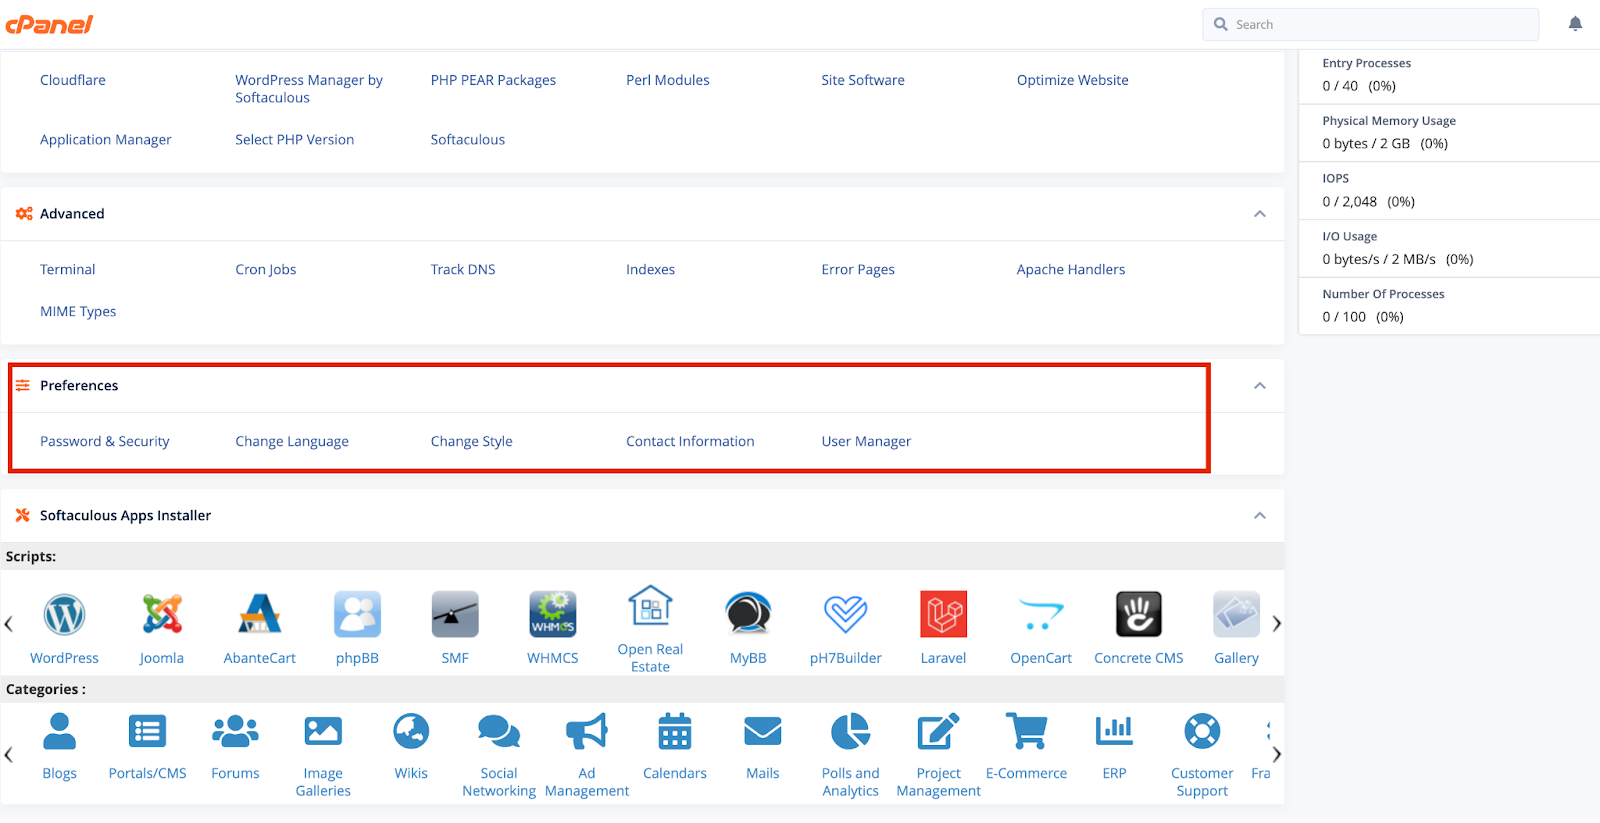
In terms of contact details, you should always insert a working and valid email address as you’ll receive notifications in case of important events. Ideally, choose an email address that’s not attached to your domain, so that you are still be able to access these emails in the case you get hacked in the future.
The “User Manager” allows you to add a new user, which is useful to give other members in your team or business partners access to cPanel with their own details.
Creating an Email Address
The most appealing feature of using cPanel is creating custom emails such as “info@YOURDOMAIN.com” or “contact@YOURDOMAIN.com.” Setting it up couldn’t be easier, and it all happens in the “Email” section of your dashboard.
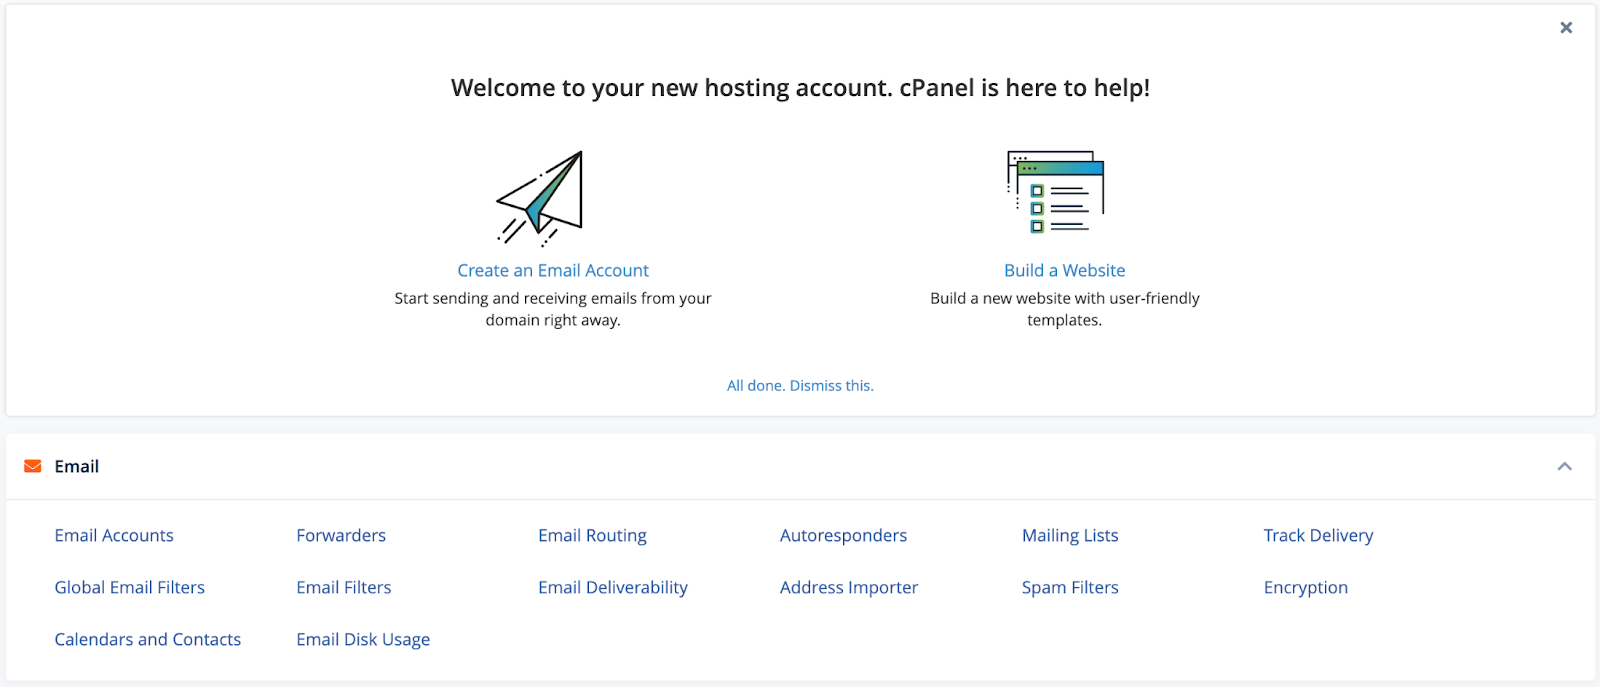
To start off, click on “Email Accounts” and “Create” or “Add Email Account.” Once here, select your username, such as “info” or “hello,” and enter a secure password.
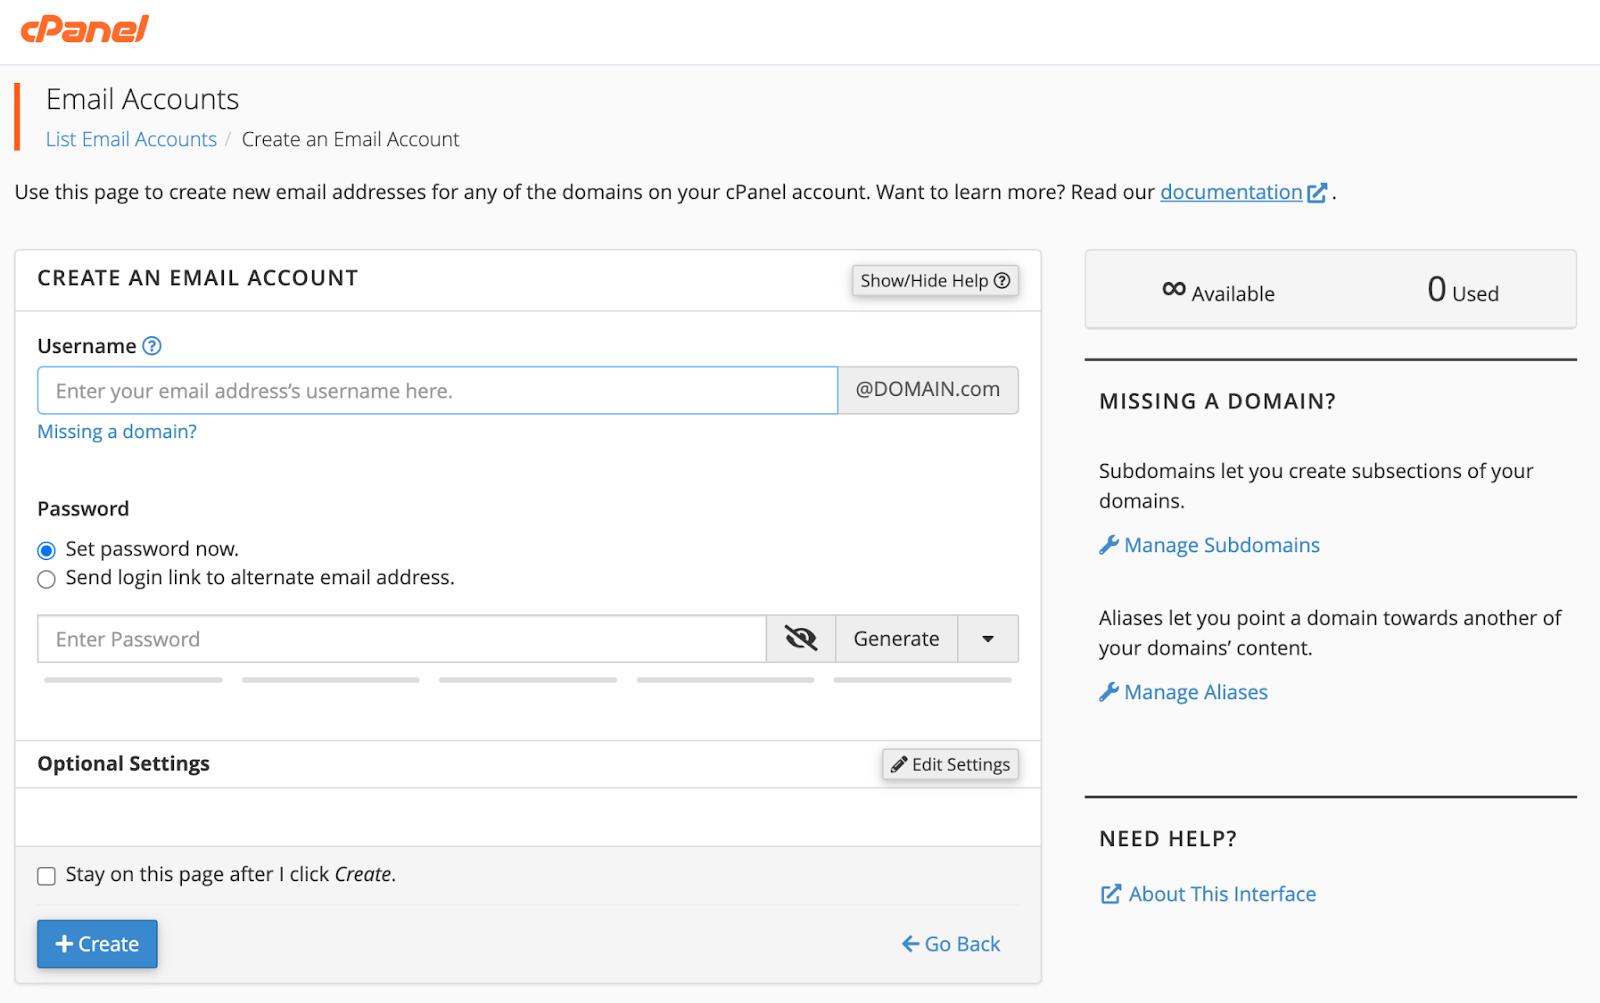
You can also set the quota but remember that emails will take up memory on your server, so you will want to insert a reasonable value. On top of that, some hosting providers allow a certain value for free, and you will have to pay for more storage. Once all the above is done, click on “Create”.
Accessing Your cPanel Email Account
Now that you’ve added and configured your email address, you can access it in 2 different ways – using a mail client or using Webmail. Let’s start with the former since it’s the most practical in the long run.
Connect Your cPanel Email to Your Mail Client
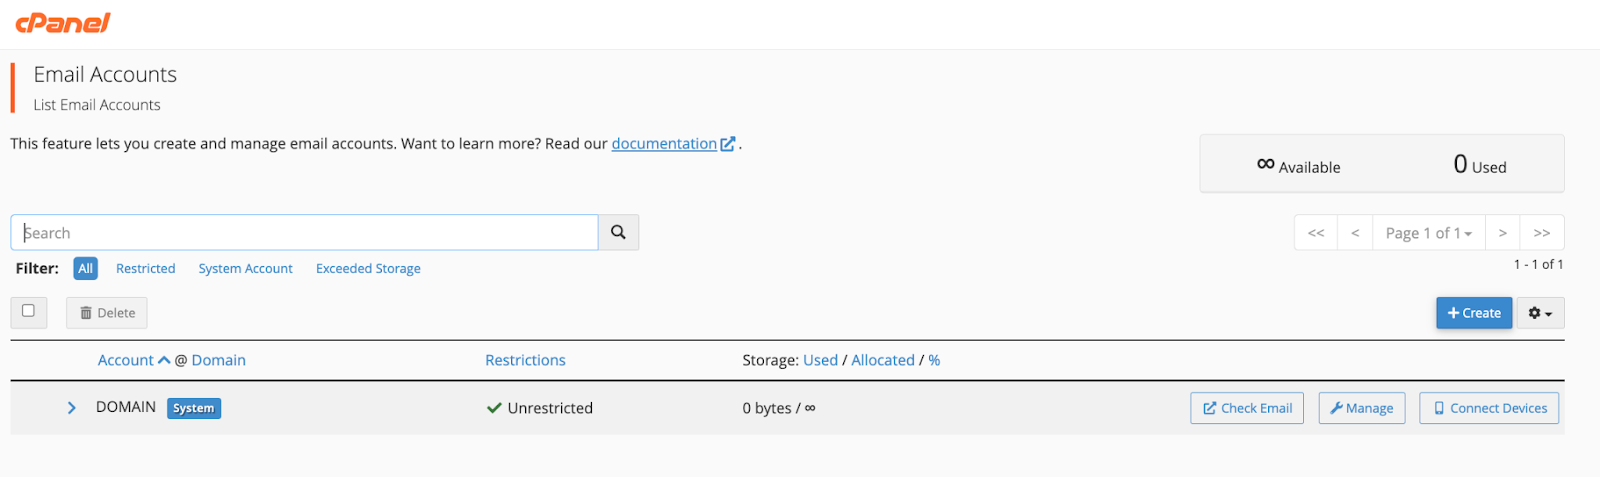
In your cPanel, head over to the “Email” section and click on “Email Accounts.” From here, you will see a list of the email addresses – to access it, click on “Access Webmail” or “Connected Devices” next to the address, and find the section “Mail Client Automatic Configuration Script.”
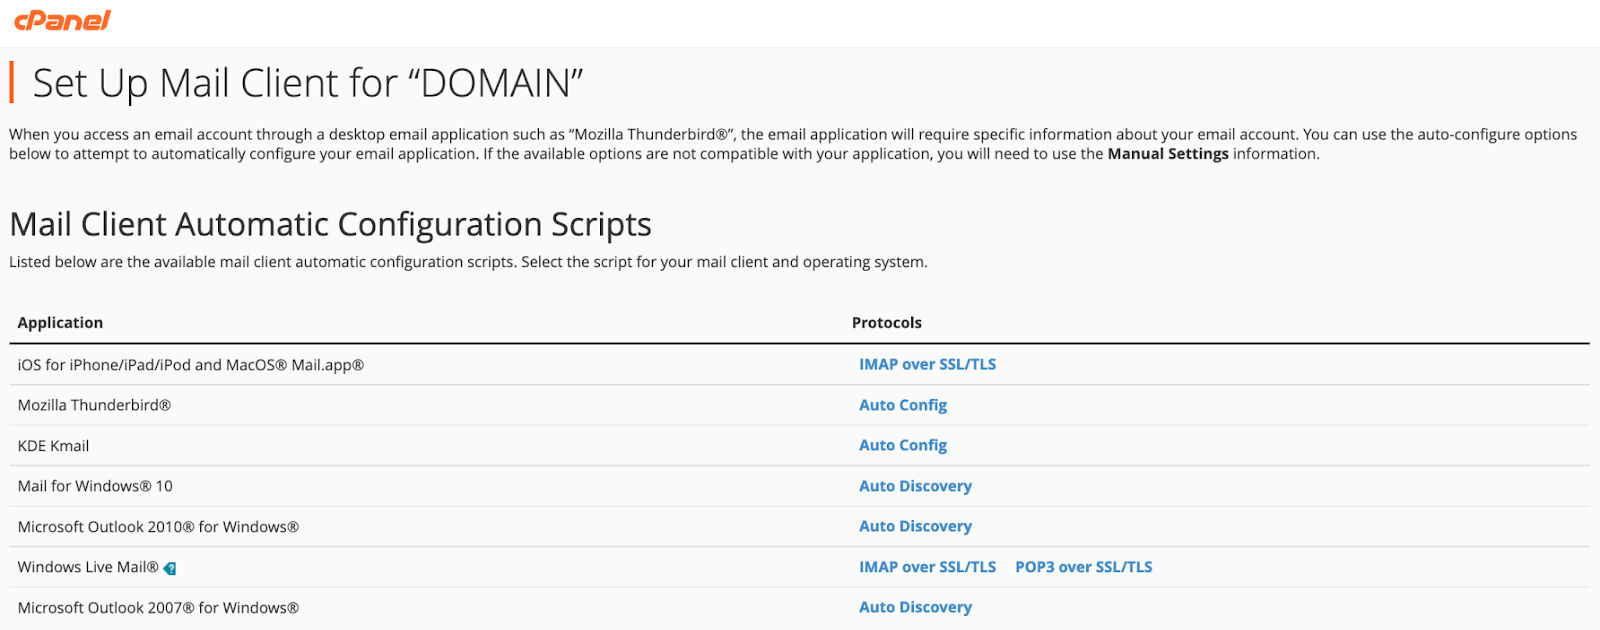
You’ll find a few different options for various devices, all with helpful links, and we recommend clicking on the one that matches your device if it’s on the list.
If not, scroll down to the next section, “Mail Client Manual Settings” where you can see the information you need to configure your email on your device.

Access Your Email on Webmail
The second option to access your email is on Webmail, and it’s pretty straightforward. Head over to the “Email” section in your control panel and click on “Email Accounts.”
Here, you can see “Access Email” or “Check Email” and the system will ask you to choose one provider, generally Roundcube or Horde – we recommend Roundcube as the interface is easier to understand.
Alternatively, you can access your email through the webmail portal by typing your domain in your browser, followed by “webmail”, as follows: https://YOURDOMAIN.com/webmail.
Editing and Removing Email Accounts
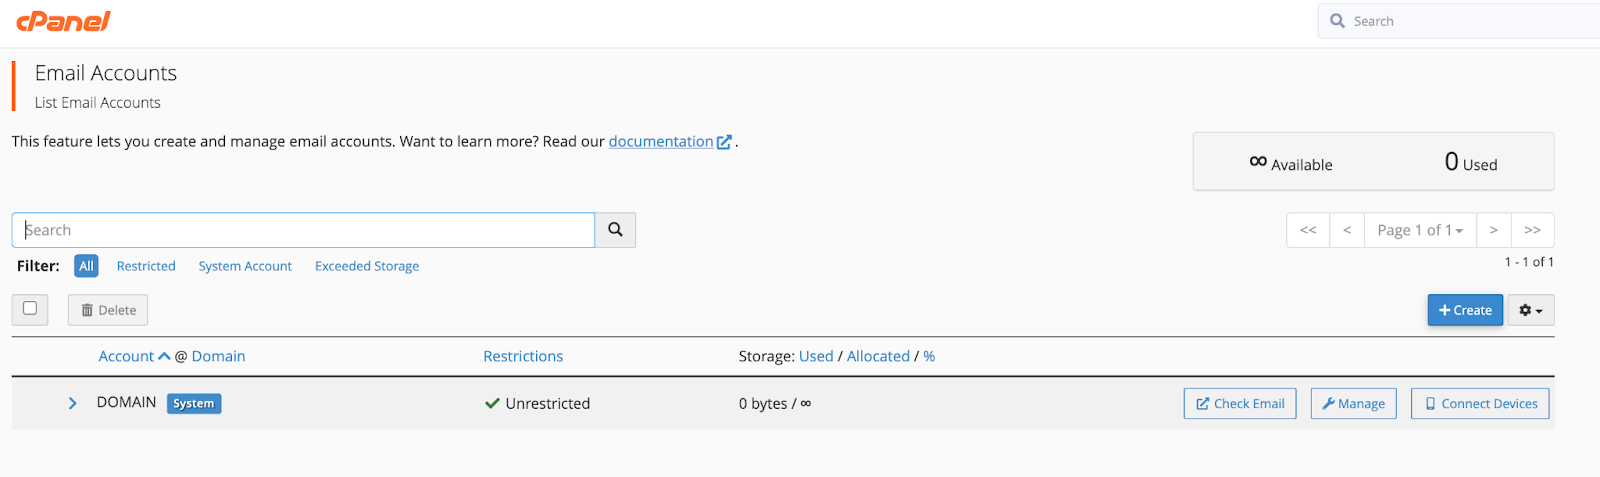
Editing or removing email accounts in cPanel is simple – head over to “Email Accounts” and you will see the list of accounts on your domain. Click on “Remove” or “Manage” (as per the screenshot above) and, after that, scroll down, and you will be offered the option to delete the email address.
How to Configure cPanel for Spam Filtering and Security
cPanel provides a number of tools to help you protect your email accounts from spam and other email threats. In this section, we will show you how to enable spam filtering and security features in cPanel.
Enabling cPanel’s Spam Filtering
Spam protection is an essential part of any email service, and cPanel has an integrated filter, allowing you to keep only worthy emails in the primary inbox. To access the settings, go to the “Email” section and click on “Spam Filters”.
The Spam Filters cannot be deactivated, which is great, and you can edit the settings. Firstly, you can see the option “Automatically Delete New Spam” which we recommend turning off in case the system recognizes a genuine email as spam, which happens.
Secondly, the option “Move New Spam to a Separate Folder (Spam Box)” is fantastic and works the same way as other providers.
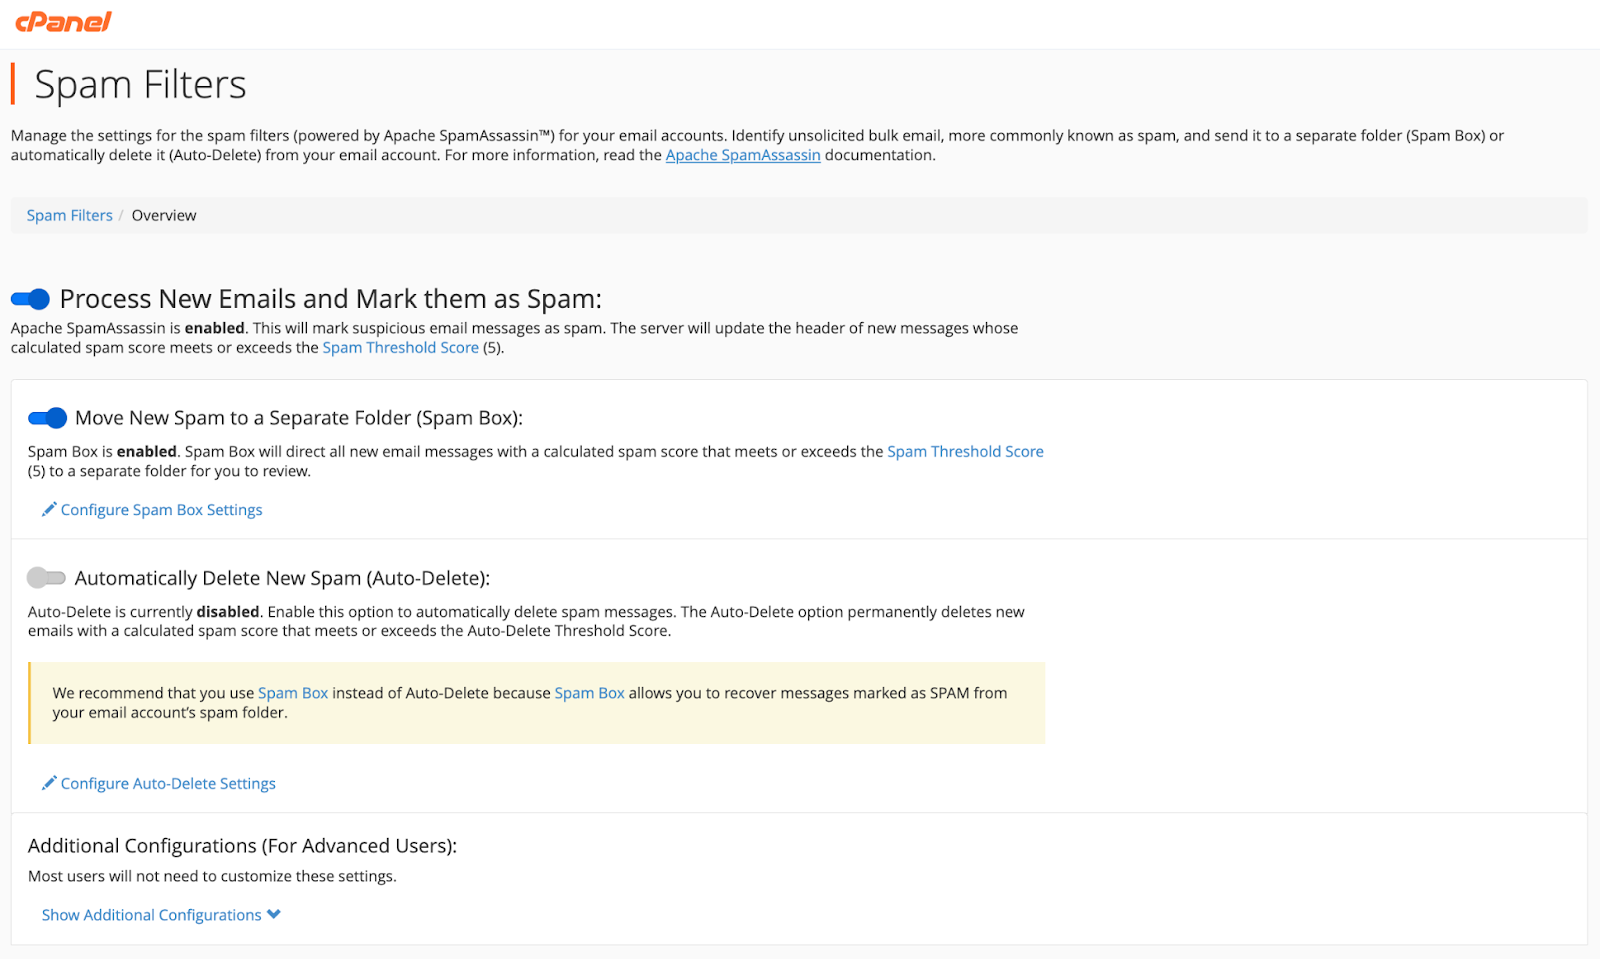
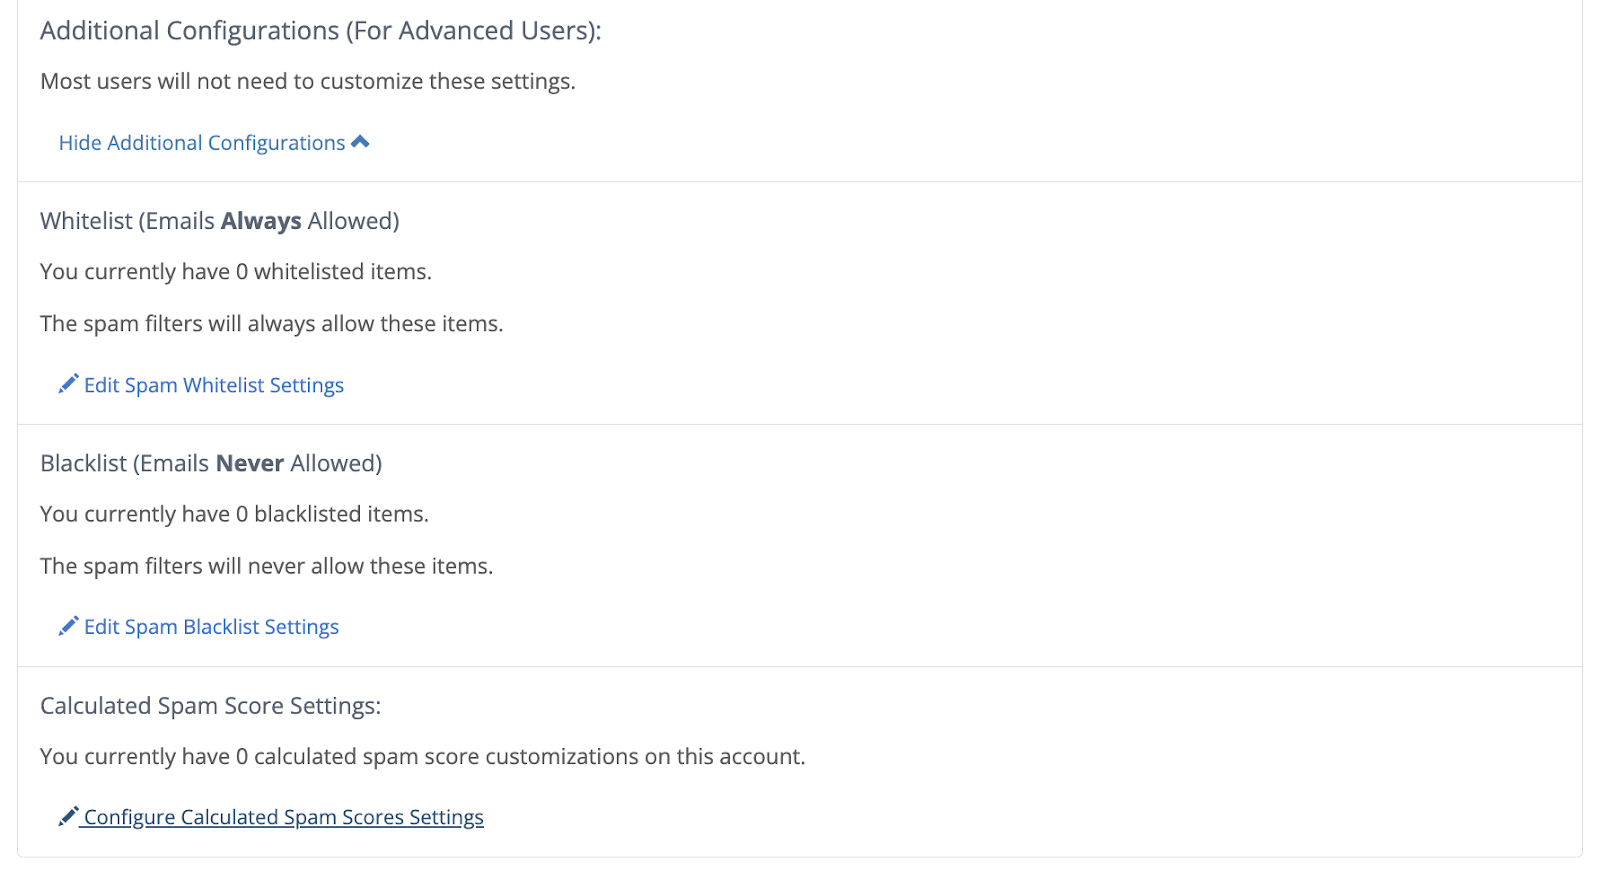
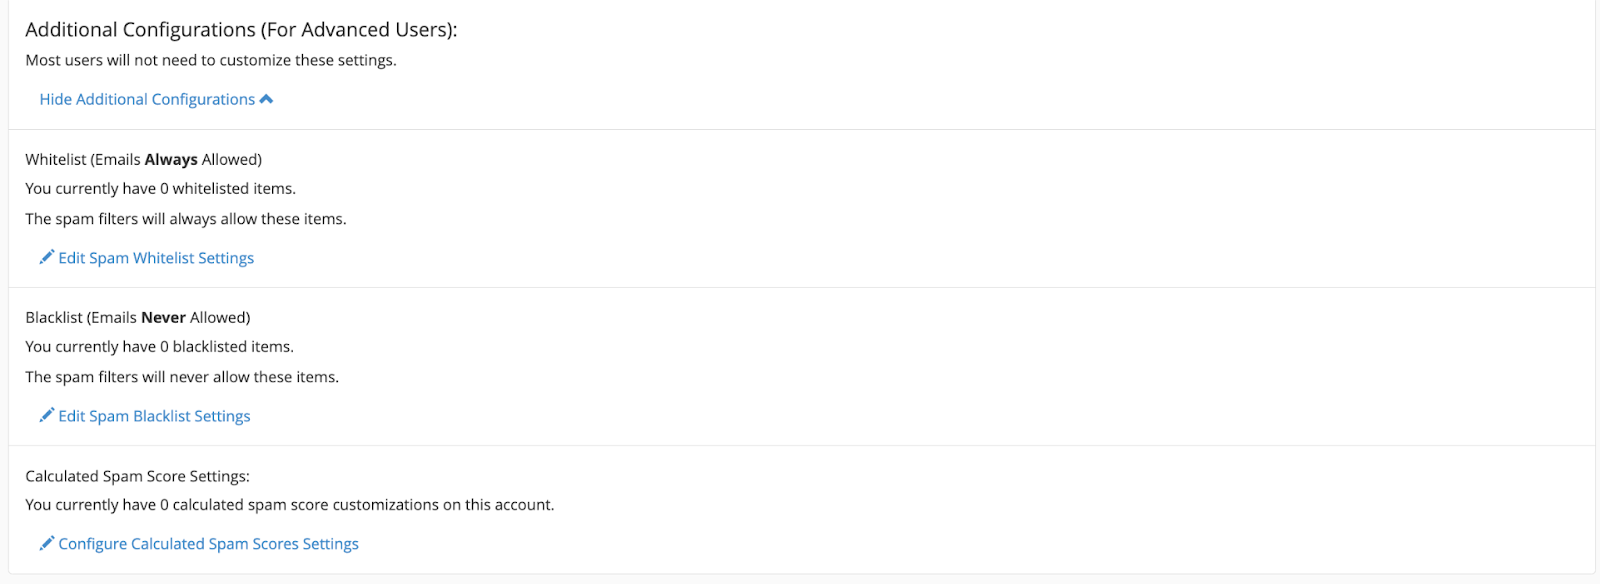
Finally, in the “Additional Configurations” section, you will be able to whitelist and blacklist specific email addresses, which is very convenient.
Conclusion
cPanel is a powerful mail server tool that can be configured in a variety of ways to suit your needs. With the right settings, you can create an efficient and spam-free email system for your business or organization.
In this guide, we’ve outlined some basic steps for configuring cPanel mail servers. If you have any questions or need help getting started, our team is here to assist you, so make sure to comment down below or contact us.